Adam Strzelec
Frontend Developer
2024-09-26
Updated: 2024-09-27
#Frontend
Time to read
3 mins
In this article
Intro
How Ionic works
Integrating Ionic into existing projects
Using native features
Evaluating Ionic's applicability
Summary
Share this article
Overview
Are you wondering how to quickly and affordably create a mobile app for Android and iOS based on an existing web app? With Ionic, this is possible in just a few hours! Ionic is a versatile technology that allows developers to quickly create mobile apps for various platforms. Its main advantage is the ability to easily deploy apps for both Android and iOS from a single codebase. With ready-made solutions commonly used in mobile apps, Ionic simplifies the app development process, requiring only knowledge of HTML, CSS, and JavaScript, along with familiarity with frameworks like Angular, React, or Vue.
How Ionic works
Ionic builds the user interface using web components such as buttons, text fields, and lists, which are then rendered in the user's browser. By using Cordova or Capacitor, Ionic packages the app as a native mobile app, enabling access to device features like the camera, location services, and notifications.
Request a free Ionic consultation
Facing Ionic challenges? Contact us for a free consultation in just 1 step!
Integrating Ionic into existing projects
Let's start by creating a React project:
1 2 3 4 5npm create vite@latest my-react-app -- --template react cd my-react-app npm install
Add Capacitor to the project:
1 2 3npm install --save-dev @capacitor/cli npx cap init
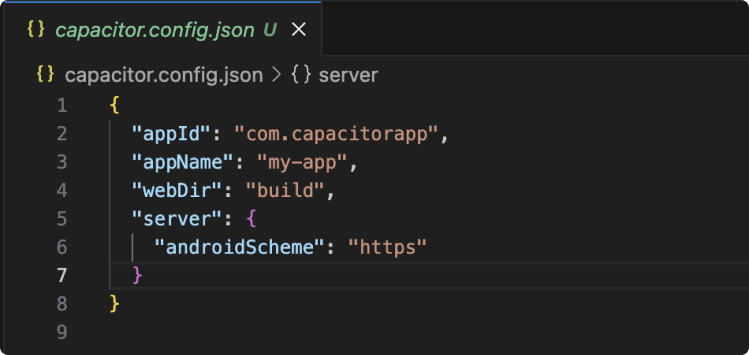
Enter project name and bundle id, and then a configuration file will be generated.

Add Android and iOS platforms:
1 2 3 4 5 6 7npm install @capacitor/core @capacitor/ios @capacitor/android npm run build npx cap add ios npx cap add android
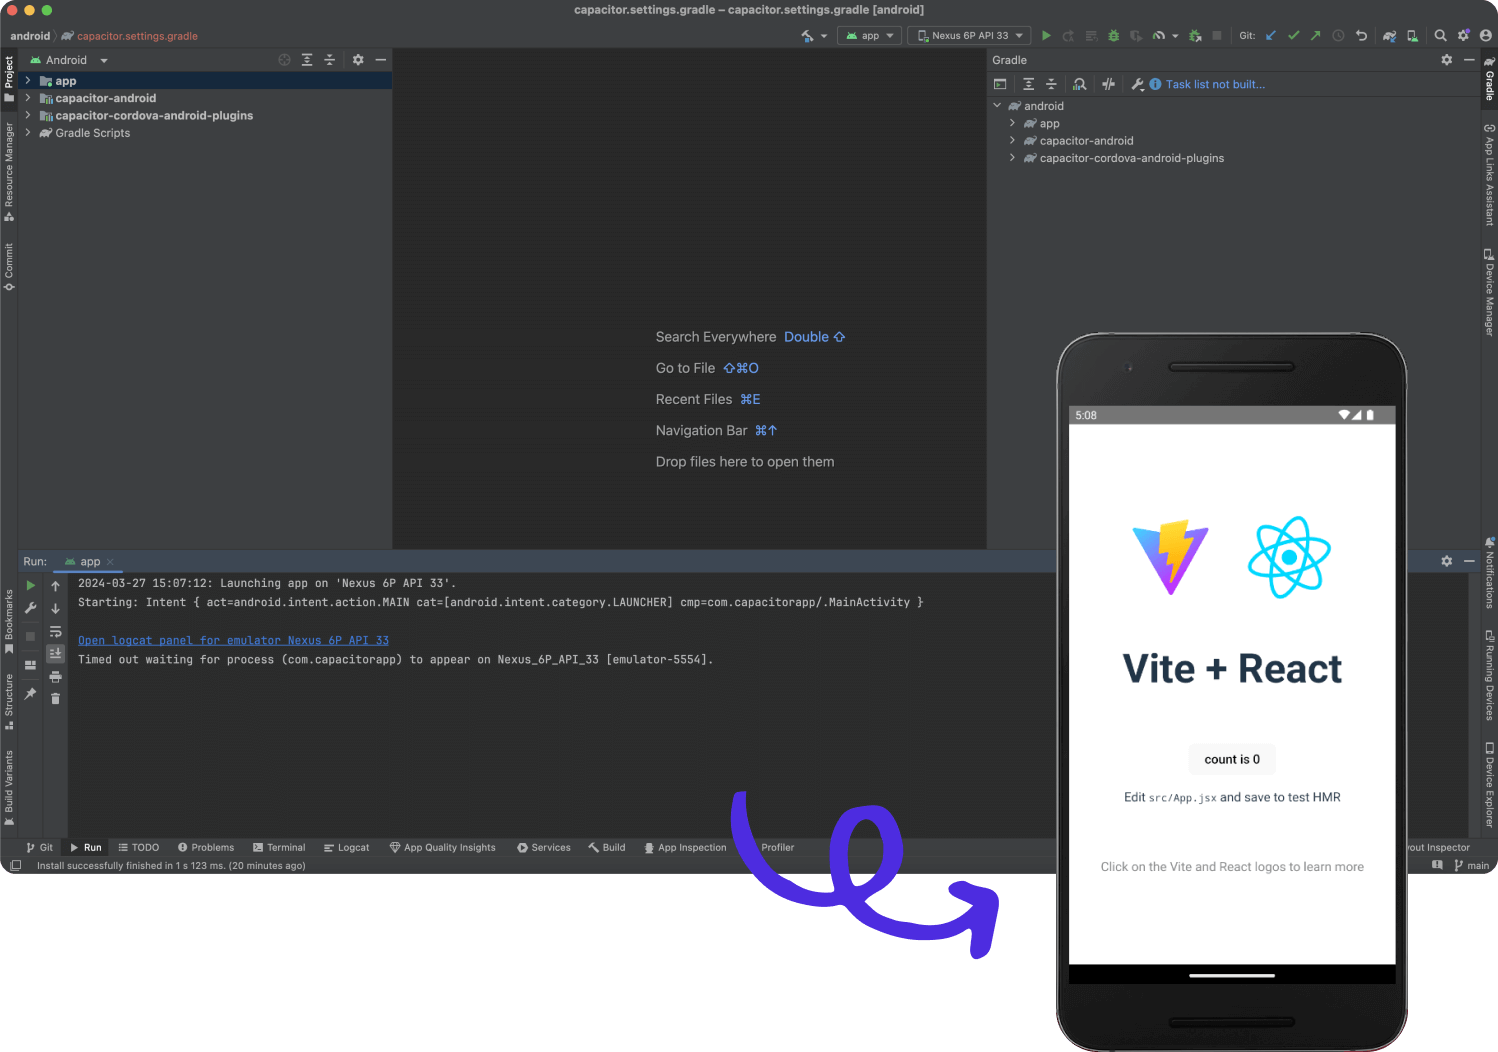
With these steps, the project now supports both Android and iOS platforms. Now we can run our project.
1npx cap open android

Implementing Live Reload for Enhanced Development
To streamline the development process, integrate live reload functionality:
1 2 3npm install -g @ionic/cli native-run ionic init
Add the following scripts to the package.json file:
1 2 3 4 5 6"scripts": { "android": "ionic cap run android -l --external", "ios": "ionic cap run iOS -l --external", }, npm run android
Now, any code changes will trigger automatic application refresh.
Using native features
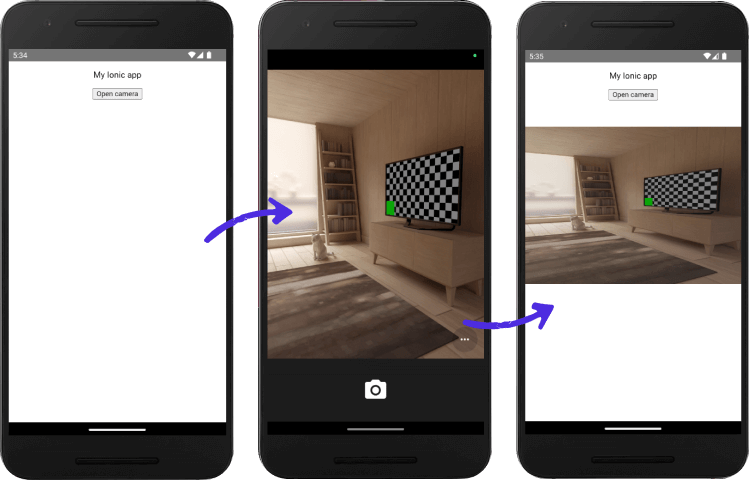
Once the app is running in a native environment, you can access native device features. For example, to use the camera:
1 2 3npm install @capacitor/camera npx cap sync
Modify the AndroidManifest.xml file to grant necessary permissions for camera usage.
1 2 3 4 5 6 7 8 9 10<manifest xmlns:android="http://schemas.android.com/apk/res/android"> ... <!-- Permissions --> <uses-permission android:name="android.permission.READ_MEDIA_IMAGES"/> <uses-permission android:name="android.permission.READ_EXTERNAL_STORAGE"/> <uses-permission android:name="android.permission.WRITE_EXTERNAL_STORAGE" /> </manifest>
Then, implement the camera functionality in the code:
1 2 3 4 5 6 7 8 9 10 11 12 13 14 15 16 17 18 19 20 21 22 23 24 25 26 27 28 29 30 31 32 33 34 35 36 37 38 39 40 41 42 43 44import "./App.css"; import { Capacitor } from "@capacitor/core"; import { Camera, CameraResultType } from "@capacitor/camera"; import { useState } from "react"; function App() { const [imageUrl, setImageUrl] = useState(""); const takePicture = async () => { const image = await Camera.getPhoto({ quality: 90, allowEditing: false, resultType: CameraResultType.Uri, }); setImageUrl(image.webPath); }; return ( <div className="App"> <p>My Ionic app</p> {Capacitor.getPlatform() !== "web" && ( <button onClick={takePicture}>Open camera</button> )} {!!imageUrl && ( <img style={{ width: "100vw", height: 300, backgroundColor: "red", marginTop: 50, }} src={imageUrl} alt={""} /> )} </div> ); } export default App;

This enables seamless integration of native features into the application.
Evaluating Ionic's applicability
While Ionic excels in rapid development, it may not be optimal for complex projects compared to alternatives like React Native. However, for time-sensitive projects with budget constraints, Ionic emerges as an efficient solution.
Summary
Ionic is a powerful tool that simplifies mobile app development. With a rich repository of plugins for native feature implementation and support from an active community, Ionic is an ideal solution for novice mobile app developers. It offers a simple and fast pathway to creating apps available on multiple platforms. With Ionic, you can create a mobile app based on a web app in just a few hours, making it an excellent solution for projects with limited budget and time.
Adam Strzelec
Frontend Developer
Share this post


